Creating Filters in Google Analytics
Google Analytics filters are very useful to facilitate the task of analysis and give users access only to those data that are relevant to them. In this article we will see how to create predefined filters in Google Analytics.
Predefined filters allow us to include or exclude traffic from certain ISPs, IP addresses, subdirectories of our website, and even specific host names.
We can also create custom filters in case we need a more sophisticated solution, however in my experience most common needs can be solved with predefined filters.
So now let's see how to create a predefined filter!
First of all, it is important to create a new view that we will use to apply the desired filters. A very serious mistake is applying filters on our “master” view, since once the data is filtered we will not be able to go back and recover the data that we have not registered.
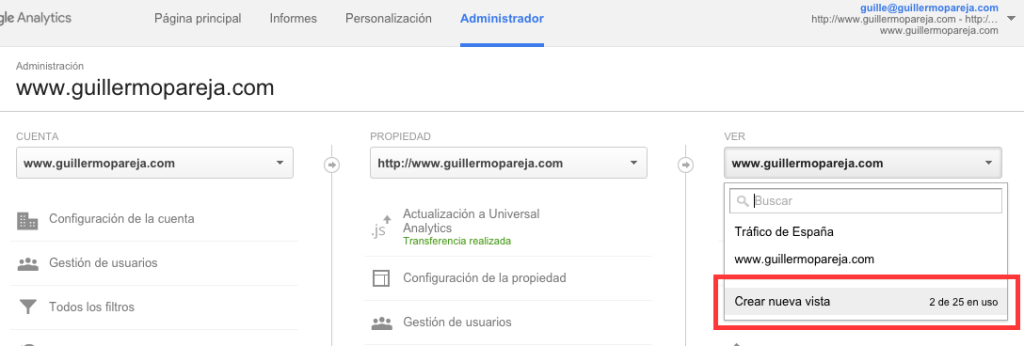
To do this, we must go to "Administrator" and select "Create new view" in the "View" column.
 We give a name and a time zone to our new view and click on "Create view".

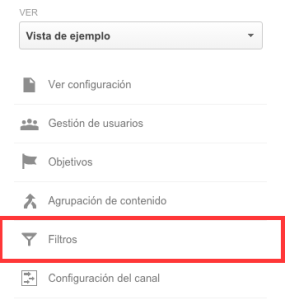
Then we must select the view we want to work with and click on "Filters"
We click on "Add filter".
We choose a name for the new filter and then proceed to configure it.

We have 4 types of default filters:
1) Exclude / include only ISP domain traffic: This type of filter is ideal to eliminate our own traffic, such as visits generated by our corporate network, which according to the size of the company can greatly affect our reports.
2) Exclude / include only traffic from IP addresses: Eliminate those IP addresses that can skew the information in our reports. Some examples of IP can be the one we have or our team of collaborators. Another advantage that this filter gives us is that we can exclude a range of IP addresses.
Remember that to create this type of filter we must make a brief modification to the IP address (known as regular expressions). Example:
- IP address: 176.168.1.1
- Address that we must write in the filter: 176 \ .168 \ .1 \ .1
3) Exclude / include only traffic for subdirectories: Suppose we have a website that offers different products (www.regalosideales.com), of which electronic (www.regalosideales.com/ electronic), are our strongest range and we are interested in analyzing it separately to know the behavior of our users in this section.
4) Exclude / include only traffic to hostname: This filter refers to when we have different hosts and we are interested in including or excluding some of them.
For example we have 3 hosts: articles.mycompany.com, contact.mycompany.com and help.mycompany. com and we are interested in analyzing each host separately, for which we create 3 different views where each one contains the filter by desired host name.
Once we have configured the desired filter, we just have to click on "Save" and the filter will already be applied to our view!
Some useful tips:
- It is recommended that a view is always maintained without any type of filter in order to have a backup copy against any problem we may have with the filtered views.
- We must bear in mind that the order of the filters affects the results of our reports.
I hope this article is useful for you to configure filters to your Google Analytics views that make it easier for you to analyze your data.
