Google Analytics: How to Create Content Experiments
A few days ago the withdrawal of the Google Website Optimizer tool was announced to include the functions performed by that tool directly within Google Analytics under the name "Content Experiments" or "Content Experiments" in Spanish.
I was doing some first tests with some clients and the truth is that now it is much more comfortable to create experiments from a single tool.
Below is a step-by-step show of how to perform Content Experiments in Google Analytics:
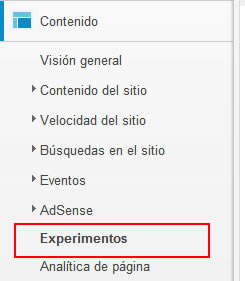
1) Select the "Experiments" option within the "Content" tab in the options menu of the "Standard reports" tab.
2) We introduce the URL on which we want to carry out the experiment, the tool will show us a Thumbnail with the image of the page on which we want to carry out the experiment and click «Start Experimenting».
3) Then we designate a name for the experiment, we introduce the URLs of the pages on which the experiment will be carried out, we add the necessary variations and when we are ready we click «Next step».
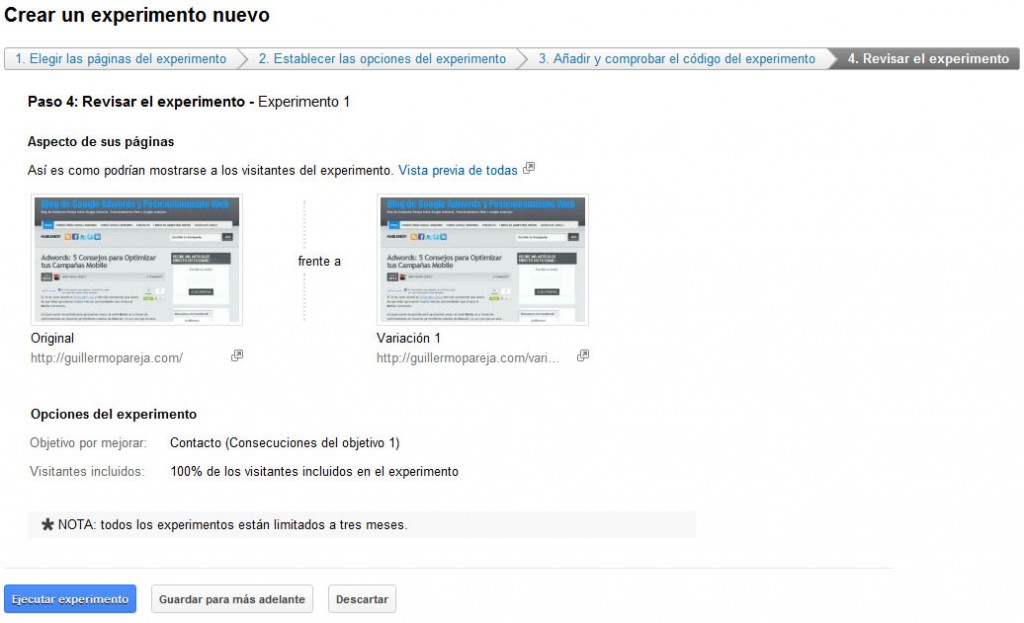
To the right of each URL you can preview the landings with which the experiment will be carried out, in this case, as the "variation 1" is hypothetical and does not really exist, the preview shows a 404 error hehe
4) Once we have chosen the URLs, now we must choose the objective of the experiment and the percentage of visitors that will be included in the experiment.
Currently the objectives of "Content Experiments" are integrated with the Google Analytics objectives, so if we have not created the necessary objective to count the conversions of the experiment, we must create it by clicking "+ Add new objective" and then select it from the list.
The next step is to select the percentage of users who will participate in the experiment, this percentage also includes the original version.
If we want to do very risky experiments, the ideal is to reduce the percentage of users who will see the variations, however, to obtain faster results, it is best that 100% of the users participate in the experiment.
Once we have all the configuration ready click «Next step»
5) Now it only remains to add the code provided to the original page of the experiment, this code is a javascript very similar to that of Google Website Optimizer, so there are no great difficulties in its implementation and it is generally very simple.
 We select if we will be the ones who will add the code or if we want to send it by email to our programmer.
Then we just have to click «Next step», after which the system will verify that the code has been correctly implemented.
6) The last step consists of nothing more than checking that the configuration we have made is correct and then running the experiment.
 Once the experiment has started, we will be able to see a list of all our experiments in the "Experiments" option of the "Content" tab in "Standard reports"
By following these simple steps we are ready to do experiments and improve our conversion rates 😉


